Rat trade

Rat Farming and Breeding Guide

A rat colony earns when it stays fed, roomy and healthy, and a bigger colony only multiplies whatever is going wrong. Keep one cage working before you add another: refill the feeder, clear the sick and the dead, make room, and only then decide who breeds and who goes to the cleaver. Never put rat meat in the feeder, because it gives the colony prion disease.

750Credits for Ranching in Wild's Network
6rats in the Rat Wrangler start, in pairs aged 1, 3 and 5
55%of the cage filled before crowding starts to cost fertility
7inherited traits the Gene Scanner can show

The daily colony routine

Stock one cage

Start as the Rat Wrangler or pay Joe Wild 750 Credits for Ranching. The referral hands over an Animal Cage with a Feed Dispenser, three pairs of rats at different ages, a Kitchen Cleaver, a Blue Labeler, a Marking Pen, Nutrifruit and Peat, and brings the Retired Rat Rancher every Friday.

  • The scenario's cage is already prepared with a dispenser; a cage you buy empty is not, so fit one before you move rats in.
  • A Mouse Trap baited with cheese has a nightly chance of catching a wild rat. Check its health and genes before it joins the breeders.
Rat Wrangler start →

Fill the feeder first

Insert food into the Livestock Feed Dispenser, use its combine action to store the calories, and keep it in the same cage as the rats. It feeds them as needed and wastes less than whole portions. Choose high-calorie, low-cost food and read the reserve before ending the day.

  • Rats eat bagged food directly. A can left unopened in the cage feeds nobody.

Check hunger, illness and corpses

Weight alone hides trouble. Hunger slows growth and breeding, and severe hunger does damage overnight. Illness drains health and hurts breeding. Rats that die diseased also leave less meat, so deal with the sick before you think about adding stock.

  • Immune serum and growth treatments suit breeders and stock near harvest. Compare the effect with the cost before you treat every rat.

Make room before crowding bites

Rats and corpses both take up space, and growing animals can cross a crowding line with no new births at all. Split the colony or cut stock as soon as crowding shows; waiting means injuries and lost litters.

Choose breeders on purpose

Scan offspring against their parents and keep only the ones that beat them. Put growth speed first, then fertility and litter size, then immunity and food use. Mark keepers with the Marking Pen so they never get mixed in with meat stock.

Harvest before the food stops paying

Young rats gain weight fastest, adults slow down and elderly rats lose it. Weigh another night's feed against the gain for each animal instead of using one harvest day for the whole cage. Use a blade on the rat, then again on the corpse for meat, and clear the remains promptly.

  • Move breeders out first so they are not mistaken for meat stock.
  • Show larger cuts in the window to draw Upper Level buyers, and keep enough stock and food for the next cycle.
Reference

Food reserve and growth

An animal's reserve holds 1,000 points by default. Growth runs at full speed down to 400, slows at 200 and reverses once it starves.

Food reserveNormal growth
1,000×1
400×1
200×0.75
StarvingWeight loss

Starving rats lose half the size of their normal weight change, even if that change was already negative.

The seven inherited traits

Growth speedLitter sizeImmunityMaximum healthLifespanHunger rateFertility

Higher is better for all of them except hunger rate, where a fast eater costs you feed.

Keep rat meat out of the feeder

Fed to rats, it gives them a prion disease. Butchering does not clean it up: the status carries into the meat, and disease cuts the rounded weight to 75% before portions are shared out.

How crowding is counted

Crowding is the animals' footprint cells divided by the cage's width × height, so a growing rat can push the cage over a line by itself. Each level removes 20% of expressed fertility, on top of any penalty for disease or old age. Past 70%, an eligible animal has a chance to attack, and a successful check can kill the lightest smaller animal alive, so keep large stock away from newborns.

Animal cells in a 4 × 4 cageCrowding levelFertility penaltyAttack check
0–800%0%
9–11120%0%
12–14240%5%
15–16360%15%

Looking after the cage

Wear

Living animals wear a cage down according to their size. Corpses, cage equipment and stored items do not.

Expansion

Each size upgrade with an ingot adds 20 to both maximum and current durability.

Repairs

Scrap restores 50% of maximum durability rather than a flat amount, so big cages get more from each repair.

What fits inside

Other machines stay out. Cage equipment such as the Cleaner Robot and the Feed Dispenser is allowed.

Breeding for better rats

Pick one goal per round. Meat stock usually starts with growth speed, but food, health and fertility still decide whether the line pays.

Who can pair

Same species, opposite sexes and the same enclosure. Both must be mature, alive, not starving, not pregnant or neutered, and under their mating-count limit. Even a valid pair may not produce a pregnancy.

Pregnancy

Pregnancy advances one step per end-of-day handling until it reaches the animal's gestation value. Starvation adds a separate 75% miscarriage roll, so keep the feed reachable right through it.

Litter size

The litter stat rounds down, the fraction rolls for one more pup, random variance is added and the result is at least one. Save space and food for the newborns, whose genes vary rather than copying an adult.

Hidden values

Each trait is a pair of values. A rat holding 1.36 and 0.69 displays about 1.03 but can still pass on 1.36, so scan both numbers before you send an ordinary-looking animal to the cleaver.

Backcrossing

Pair a chosen offspring with the parent carrying the good value. If each carries it once, about one pup in four inherits it on both sides before mutation, so inspect every litter rather than counting nights.

Stopping a litter

The animal surgery tool neuters a living rat that is not pregnant. Used on a pregnant rat it causes a miscarriage instead, so check the rat's status first. Keeping pairs apart prevents litters with no surgery at all.

Droppings are stock too

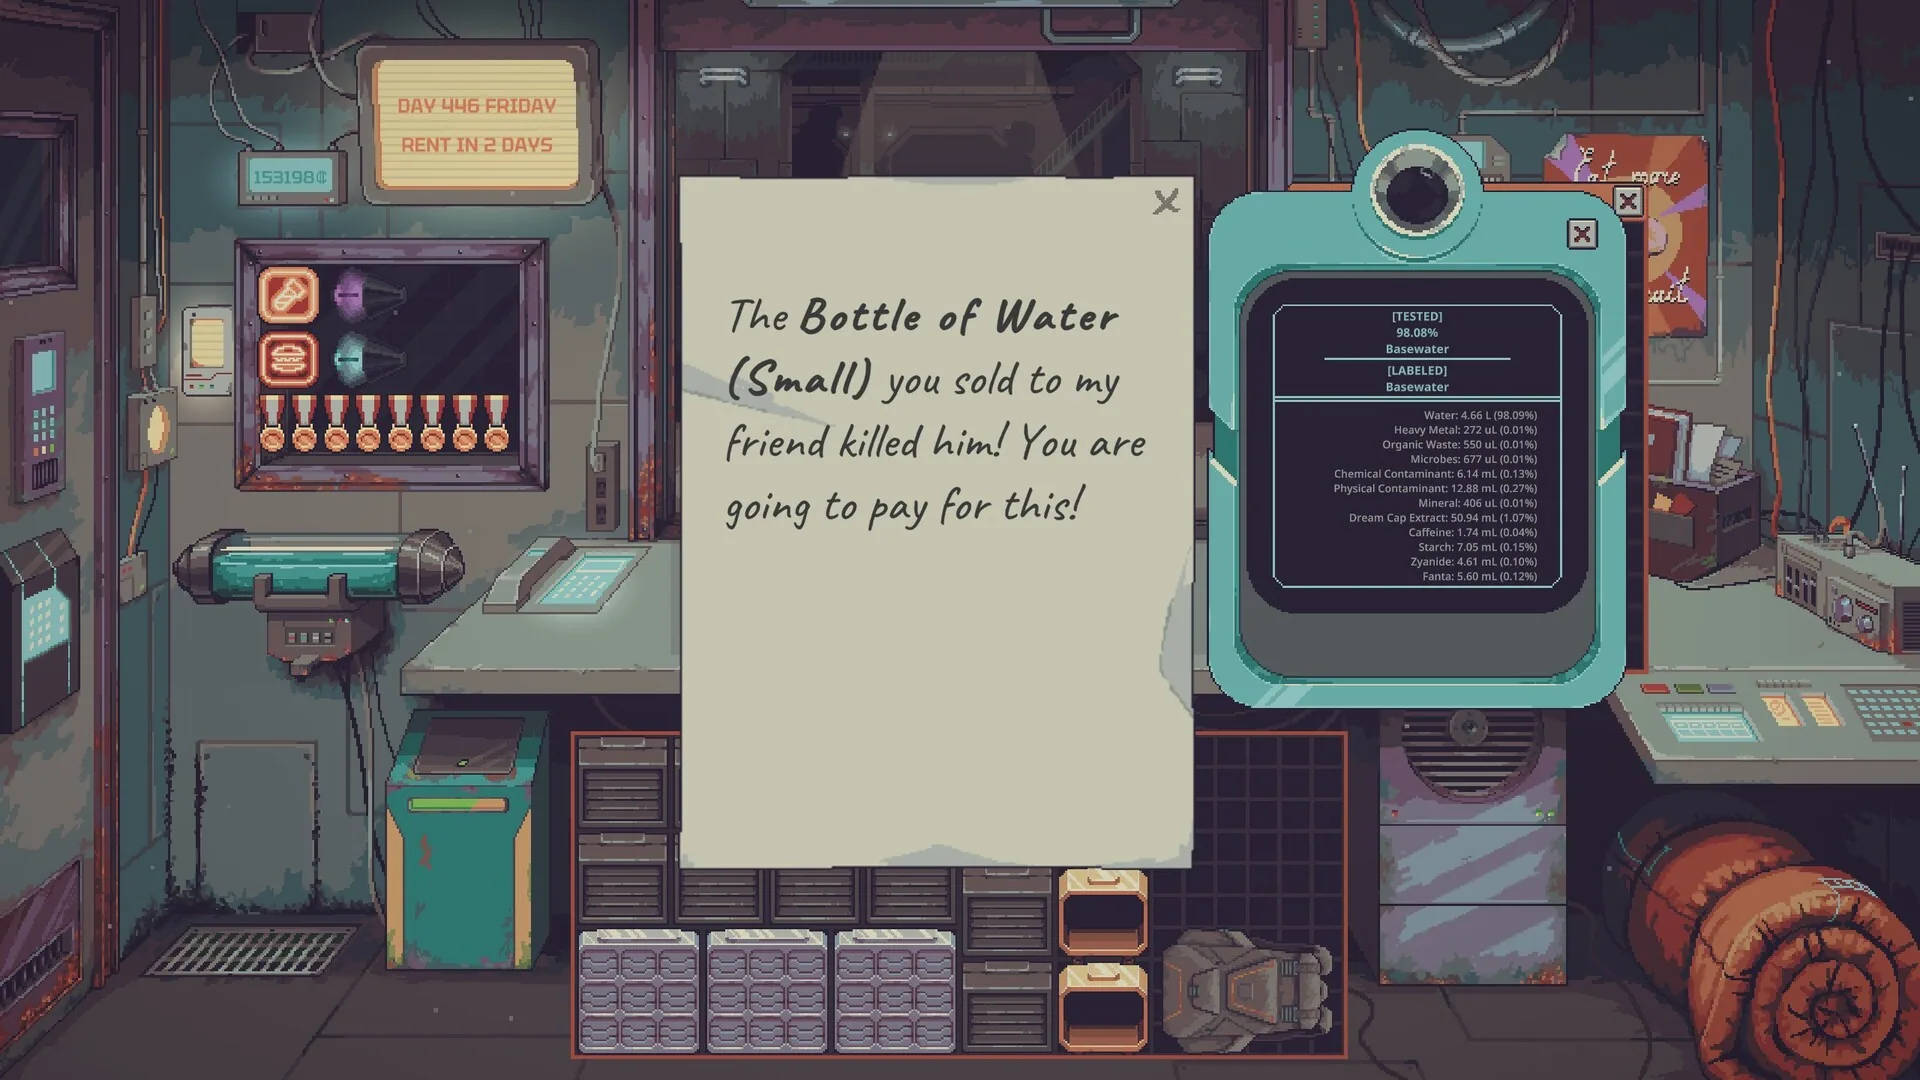
A scanner readout showing a water batch at 98.08% Basewater, next to a customer's note about a bottle that killed their friend
A batch at 98.08% sits just over the HydraTech purifier's 98% cutoff, which is where a few rat droppings earn their keep.

Water too clean for the portable purifier can be dirtied on purpose: feces lower the batch below 98%, the purifier runs, and UV and a filter finish the job. A Cleaner Robot collects Animal Feces around the cage overnight and needs a battery to run.

DroppingsLiquid added
Animal Feces (Small)15 mL
Animal Feces30 mL
Animal Feces (Large)60 mL

Equipment worth buying

Add automation once the feed and the space are under control. Each row links to its item page.

Item Base value What it does Watch for
Animal Cage 250 Credits Houses the colony and takes size upgrades An empty cage has no feeder
Livestock Feed Dispenser 300 Credits Blends food into stored calories Must sit in the cage with the rats
Mouse Trap 50 Credits Can catch a wild rat overnight with cheese inside A nightly chance, not a steady supply
Gene Scanner 500 Credits Shows an animal's full genetic makeup Toggle it on before you inspect
Marking Pen 50 Credits Colour-marks animals and fish The Auto Butcher skips marked animals
Auto Butcher 400 Credits Harvests matching animals into its tray each night Install it inside a cage or a RAS
Cleaner Robot 250 Credits Collects Animal Feces overnight Double-click to clean straight away
Serum Green 100 Credits Treatment serum from the Rat Wrangler kit Read its description before you dose
Serum Red 100 Credits Treatment serum from the Retired Rat Rancher Worth it only if the effect beats the cost

Several of these figures come from the playable demo, so trust your in-game item descriptions if a result differs.

.

Sources.